Control Flow in JavaScript: If, Else, and Switch Explained
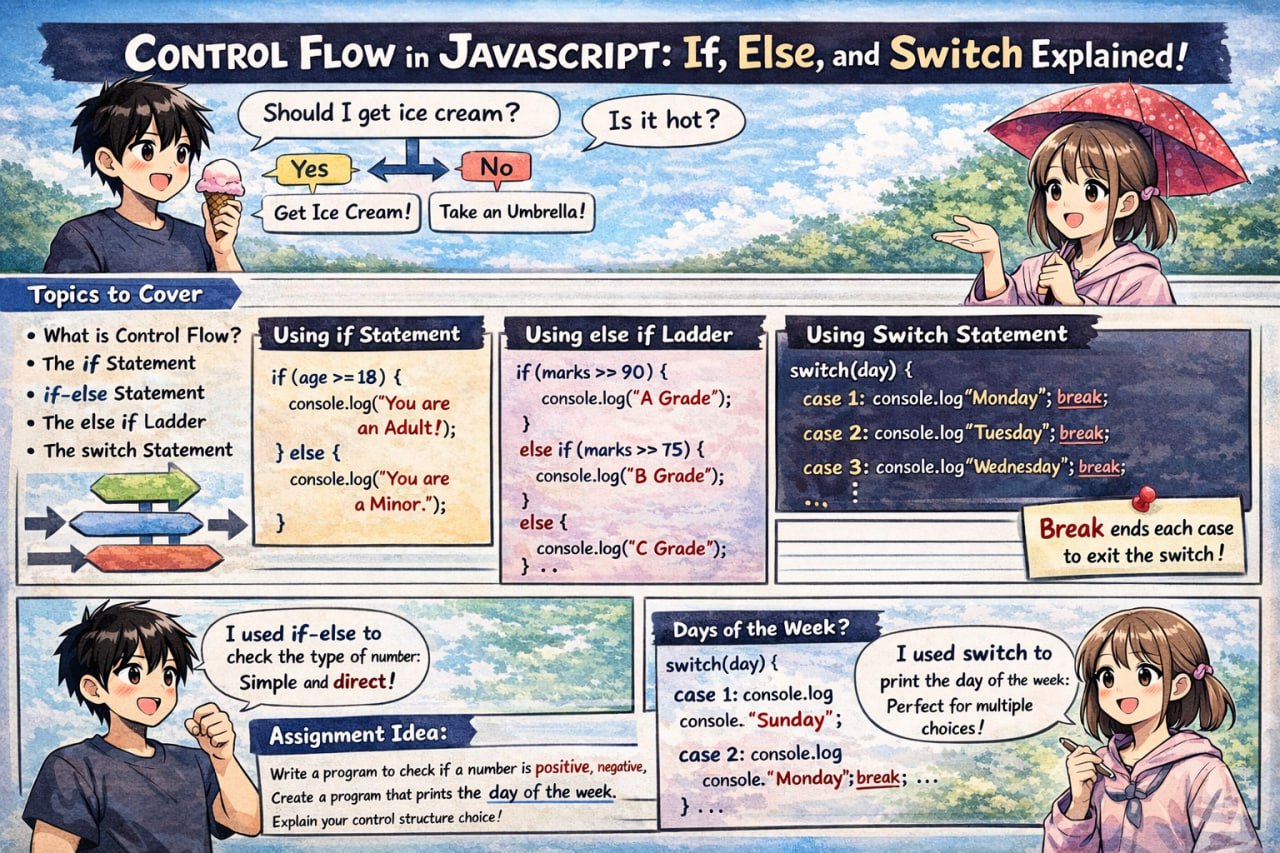
Introduction
Imagine you wake up in the morning and look outside. If it is raining, you take an umbrella. If it is sunny, you wear sunglasses. If you are not sure, you check the weather app and decide accordingly.
This is exactly what control flow does in programming. It helps your code make decisions and choose a path based on certain conditions.
In this article, we will explore how JavaScript handles control flow using if, else, else if, and switch statements — with simple, real-life examples that anyone can follow.
1. What is Control Flow?
Control flow is the order in which your code runs.
By default, JavaScript runs code line by line, from top to bottom. But sometimes, you want your code to take different paths based on different situations. That is where control flow comes in.
Think of it like a road with forks. Depending on a condition, your code takes one fork or another.
2. The if Statement
The if statement checks a condition. If the condition is true, it runs the code inside it.
Syntax
if (condition) {
  // code runs if condition is true
}
Real-Life Example
You are at the cinema. If you are 18 or older, you can watch an adult movie.
let age = 20;

if (age >= 18) {
  console.log("You can watch the movie.");
}
Output: You can watch the movie.
If age were 15, nothing would be printed because the condition is false.
3. The if-else Statement
What if you want to do something when the condition is false as well? Use else.
Syntax
if (condition) {
  // runs if condition is true
} else {
  // runs if condition is false
}
Real-Life Example
let age = 15;

if (age >= 18) {
  console.log("You can watch the movie.");
} else {
  console.log("Sorry, you are too young.");
}
Output: Sorry, you are too young.
The else block acts as a fallback — it runs when the if condition is not met.
4. The else if Ladder
What if you have more than two possibilities? Use else if to check multiple conditions one after another.
Syntax
if (condition1) {
  // runs if condition1 is true
} else if (condition2) {
  // runs if condition2 is true
} else {
  // runs if none of the above are true
}
Real-Life Example
Let us grade a student based on their marks:
let marks = 72;

if (marks >= 90) {
  console.log("Grade: A");
} else if (marks >= 75) {
  console.log("Grade: B");
} else if (marks >= 60) {
  console.log("Grade: C");
} else {
  console.log("Grade: F");
}
Output: Grade: C
JavaScript checks each condition from top to bottom and stops as soon as one is true. This is why the order matters.
5. How the Code Runs — Step by Step
Let us trace through the marks example with marks = 72:
Is
72 >= 90? ❌ No → move to nextIs
72 >= 75? ❌ No → move to nextIs
72 >= 60? ✅ Yes → print"Grade: C"and stop
Once a true condition is found, the rest of the else if chain is skipped.
6. The switch Statement
The switch statement is another way to handle multiple conditions — but it works differently. Instead of checking ranges (like >= 60), it checks for exact matches.
Syntax
switch (expression) {
  case value1:
    // code for value1
    break;
  case value2:
    // code for value2
    break;
  default:
    // code if no case matches
}
Real-Life Example
Let us print the name of a day based on a number:
let day = 3;

switch (day) {
  case 1:
    console.log("Monday");
    break;
  case 2:
    console.log("Tuesday");
    break;
  case 3:
    console.log("Wednesday");
    break;
  case 4:
    console.log("Thursday");
    break;
  case 5:
    console.log("Friday");
    break;
  default:
    console.log("Weekend");
}
Output: Wednesday
7. What Does break Do?
This is very important. Without break, JavaScript does not stop after finding a matching case — it falls through to the next case and runs that too.
Without break (problem):
let day = 2;

switch (day) {
  case 1:
    console.log("Monday");
  case 2:
    console.log("Tuesday");
  case 3:
    console.log("Wednesday");
}
Output:
Tuesday
Wednesday
It printed both Tuesday and Wednesday because there was no break to stop it.
With break (correct):
let day = 2;

switch (day) {
  case 1:
    console.log("Monday");
    break;
  case 2:
    console.log("Tuesday");
    break;
  case 3:
    console.log("Wednesday");
    break;
}
Output: Tuesday
Always use break at the end of each case unless you specifically want fall-through behaviour.
8. When to Use switch vs if-else
| Situation | Use |
|---|---|
Checking ranges (> 60, <= 100) |
if-else |
Checking exact values (1, "red", "admin") |
switch |
| Two or three conditions | if-else |
| Many exact options (like menu choices, days) | switch |
Complex logical conditions (&&, ` |
A good rule of thumb: if you find yourself writing many === someValue checks, switch will make your code cleaner and easier to read.
9. Diagrams
If-Else Flowchart
        Start
          |
    [Check Condition]
       /        \
    true        false
     |             |
[Run if block] [Run else block]
       \        /
         End
Switch-Case Branching
        [expression]
       /    |    |    \
   case1  case2 case3  default
     |      |     |       |
  action action action  action
     |      |     |       |
   break  break break    (end)
10. Assignment
Try these on your own — they are the best way to solidify what you have learned.
Assignment 1 — Positive, Negative, or Zero
Write a program that takes a number and tells whether it is positive, negative, or zero.
let number = -5;

if (number > 0) {
  console.log("The number is positive.");
} else if (number < 0) {
  console.log("The number is negative.");
} else {
  console.log("The number is zero.");
}
Why if-else? Because we are checking ranges and relationships (> 0, < 0), not exact values. if-else is the right tool here.
Assignment 2 — Day of the Week
Write a program that prints the name of the day based on a number (1 = Monday, 7 = Sunday).
let day = 5;

switch (day) {
  case 1:
    console.log("Monday");
    break;
  case 2:
    console.log("Tuesday");
    break;
  case 3:
    console.log("Wednesday");
    break;
  case 4:
    console.log("Thursday");
    break;
  case 5:
    console.log("Friday");
    break;
  case 6:
    console.log("Saturday");
    break;
  case 7:
    console.log("Sunday");
    break;
  default:
    console.log("Invalid day number.");
}
Why switch? Because we are matching exact values (1, 2, 3...). switch makes the code cleaner and easier to read in this case.
Summary
Here is a quick recap of what we covered:
Control flow decides which part of your code runs based on conditions.
ifruns a block of code when a condition is true.elseruns a block of code when theifcondition is false.else iflets you check multiple conditions one by one.switchmatches an expression against exact values using cases.Always use
breakinswitchto prevent fall-through.Use
if-elsefor ranges and complex logic; useswitchfor exact value matching.
What's Next?
Now that you understand control flow, the next step is learning about loops — another powerful tool that lets you repeat code without writing it over and over again.
Keep practising the assignments above, and do not worry if it feels slow at first. Every expert was once a beginner.
Happy coding! 🚀


